
LiteSpeedでPHPが動作する所まで
前回の記事でLiteSpeedでphpが動作する所まで完了しているので、まだの人はそちらまで設定を進めてから参考にして下さい。

PHP7.4が動作するように設定する
LiteSpeedのServer Configurationメニュー上部のExternal Appタブを選択します。
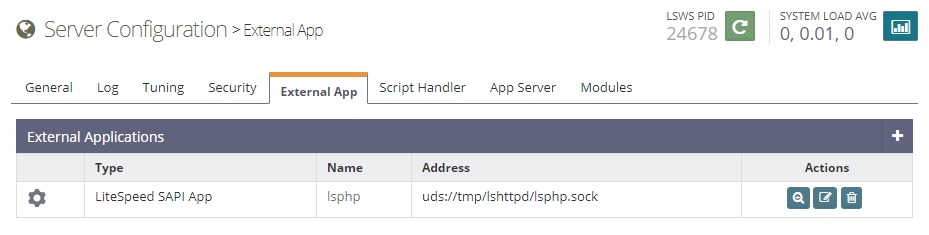
Actionsの真ん中の編集アイコンを押下します。
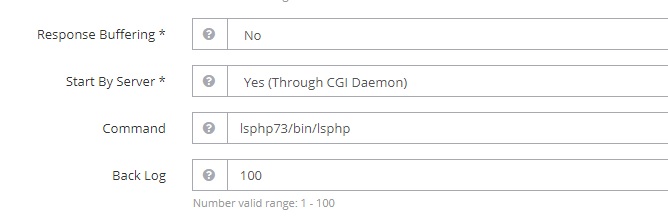
真ん中の方にあるCommand部分をlsphp73→lsphp74に変更します。
これは/usr/local/lswsの下にあるlsphp74ディレクトリを指しています。
保存してLiteSpeedを再起動します。
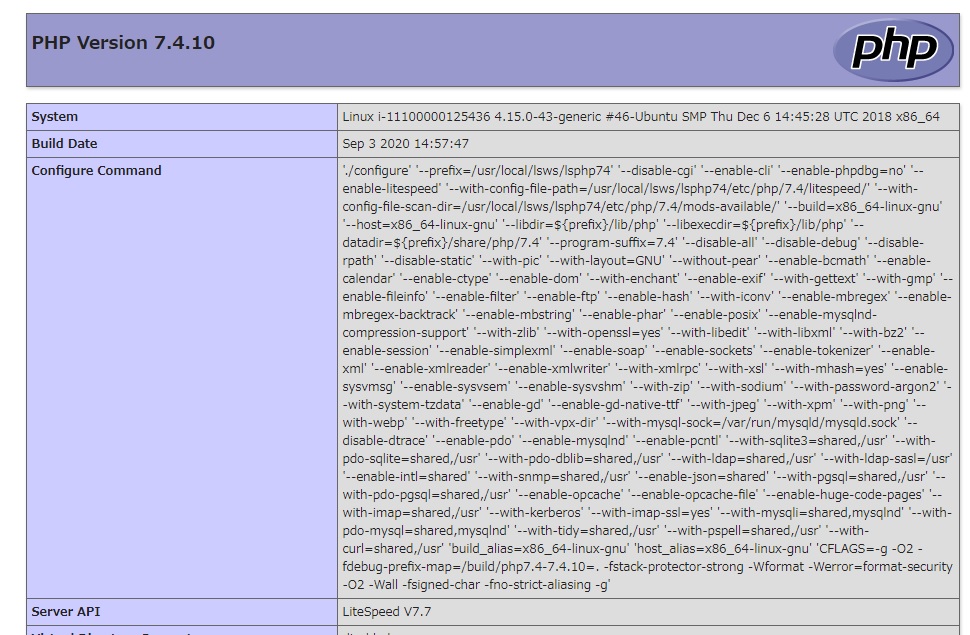
php7.4に変わります。
お疲れ様でした。

コメント